bread machine recipe book pdf
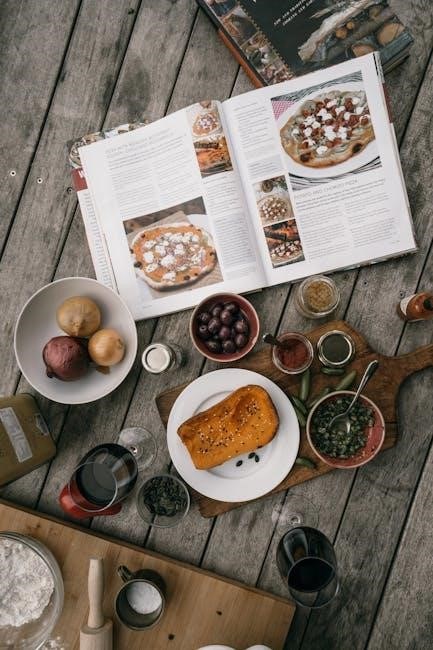
Bread machine recipe books offer a variety of easy-to-follow recipes‚ from classic white bread to gluten-free and dairy-free options. They provide step-by-step instructions and tips for perfect results. Popular titles like The Ultimate Bread Machine Cookbook and Beth Hensperger’s The Bread Lover’s Bread Machine Cookbook are highly recommended. These books cater to all skill levels and dietary preferences‚ ensuring everyone can enjoy homemade bread with minimal effort.
1.1 Benefits of Using a Bread Machine Recipe Book
A bread machine recipe book offers convenience‚ variety‚ and precision for home bakers. It provides pre-measured ingredient lists‚ step-by-step instructions‚ and customizable options for dietary needs. With a wide range of recipes‚ from classic white bread to gluten-free and dairy-free options‚ these books simplify bread making. They also include tips for troubleshooting and achieving perfect texture‚ making them indispensable for both beginners and experienced bakers.
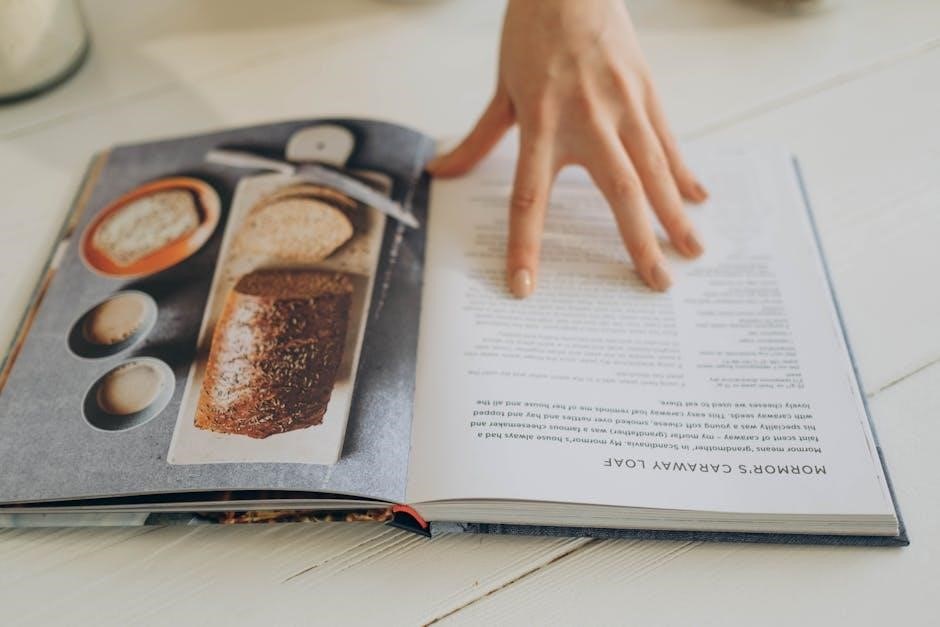
1.2 Popular Bread Machine Recipe Books Available in PDF
Popular bread machine recipe books in PDF include The Ultimate Bread Machine Cookbook with 500 recipes and Beth Hensperger’s The Bread Lover’s Bread Machine Cookbook‚ featuring 300 recipes. These books offer gluten-free‚ dairy-free‚ and keto options‚ catering to diverse dietary needs. They are easily downloadable and provide clear instructions for perfect bread making‚ making them ideal for both beginners and experienced bakers looking to expand their repertoire.
Getting Started with Your Bread Maker
Getting started with your bread maker involves reading the manual‚ understanding the bread pan‚ and familiarizing yourself with basic settings. Preparing ingredients and following instructions ensures perfect results.

2.1 Understanding the Basic Features of a Bread Machine
A bread machine typically includes a bread pan‚ paddle‚ and control panel with programmable settings. Key features like loaf size options‚ crust color selection‚ and delay start timers allow customization. Some models offer specialized settings for gluten-free or whole-grain bread. Understanding these features ensures you can optimize recipes and achieve consistent results. Familiarizing yourself with the machine’s components and settings is essential for successful bread making.
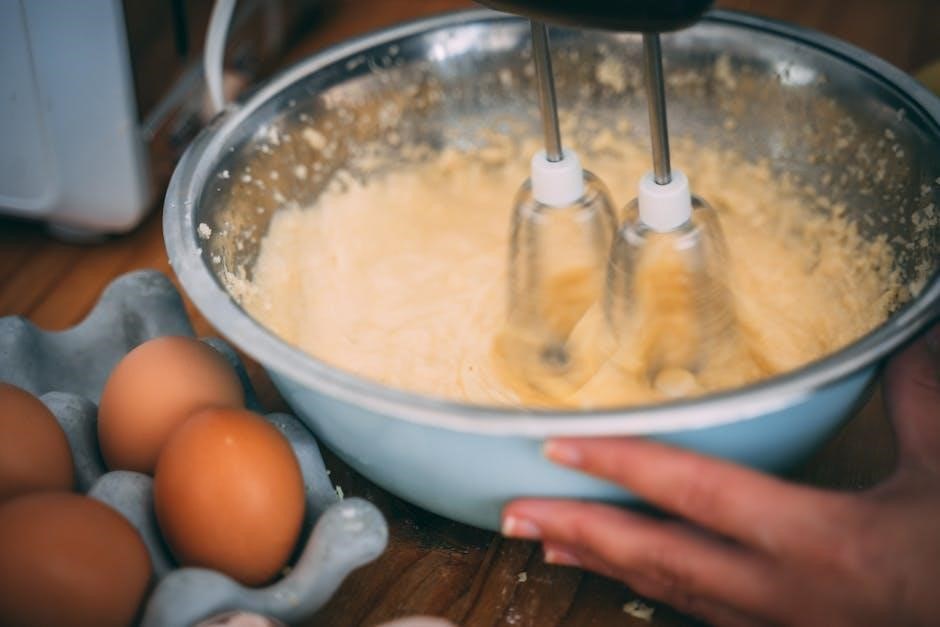
2.2 Essential Ingredients for Bread Making
The basic ingredients for bread making include water‚ flour‚ salt‚ sugar‚ and yeast. Optional additions like sunflower oil‚ powdered milk‚ or herbs enhance flavor and texture. For gluten-free options‚ specialty flours such as rice or almond flour are used. Dairy-free alternatives like almond milk can replace traditional ingredients. Ensuring the right proportions and freshness of ingredients is crucial for optimal results in your bread machine recipes.
2.3 Initial Setup and Calibration of Your Bread Maker
Before first use‚ read the bread maker’s manual carefully. Initial setup involves cleaning and assembling parts. Add ingredients in the recommended order: water‚ oil‚ salt‚ sugar‚ and flour‚ followed by yeast. Calibration ensures accurate temperature and timing. Some models may require adjusting for altitude or humidity. Proper setup guarantees consistent results and prevents common issues during the bread-making process.
Basic Bread Recipes for Beginners
Start with simple recipes like classic white‚ whole grain‚ and gluten-free bread. These require minimal ingredients and are perfect for mastering basic bread-making techniques. Easy and delicious!
3.1 Classic White Bread Recipe
A simple and timeless recipe‚ classic white bread is a perfect starting point for beginners. Combine 3 cups of flour‚ 1 teaspoon of salt‚ 1 tablespoon of sugar‚ 1 packet of yeast‚ and 1 cup of warm water in your bread machine. Add ingredients in the order recommended by your machine. Select the basic bread setting and let the machine do the work. This versatile recipe yields a soft‚ fluffy loaf ideal for sandwiches or toast.
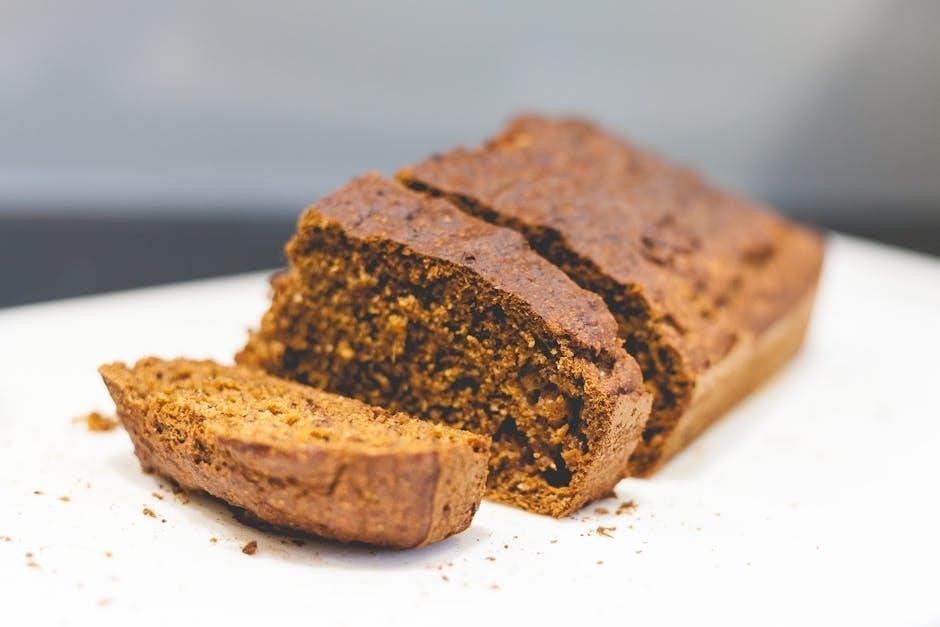
3.2 Whole Grain Bread Recipe
Whole grain bread offers a healthier alternative with added fiber and nutrients. Combine 2 cups of whole wheat flour‚ 1 cup of all-purpose flour‚ 1 teaspoon of salt‚ 1 tablespoon of sugar‚ and 1 packet of yeast. Add 1 cup of warm water and 1 tablespoon of oil. Select the whole grain or basic bread setting on your machine. This recipe yields a hearty‚ nutritious loaf with a rich‚ earthy flavor‚ perfect for sandwiches or toast.
3.3 Simple Gluten-Free Bread Recipe
This gluten-free bread recipe is perfect for those with dietary restrictions. Combine 3 1/2 cups of gluten-free flour‚ 1 teaspoon of salt‚ 1 tablespoon of sugar‚ and 1 packet of yeast. Add 1 cup of warm water‚ 1 tablespoon of oil‚ and a pinch of xanthan gum. Select the gluten-free or basic bread setting on your machine. This recipe yields a soft‚ flavorful loaf ideal for sandwiches or toast‚ catering to gluten-free dietary needs.
Advanced Bread Recipes
Explore advanced recipes like sourdough‚ rye‚ and herb-infused bread. These recipes offer complex flavors and textures‚ perfect for experienced bakers seeking variety and culinary creativity.
4.1 Sourdough Bread Recipe
Sourdough bread offers a tangy flavor and chewy texture. Using a bread machine‚ combine 3 cups of bread flour‚ 1 cup of water‚ 1 tsp of salt‚ and 1/2 cup of active sourdough starter. Select the dough or basic setting. Let the machine knead and rise the dough. Transfer to a baking sheet‚ bake at 375°F for 30-40 minutes‚ and cool before slicing for a delicious‚ authentic sourdough experience.
4.2 Rye Bread Recipe
Rye bread offers a hearty‚ earthy flavor. Combine 2 cups of rye flour‚ 1 cup of bread flour‚ 1 tsp of salt‚ 1 tbsp of sugar‚ 1 tbsp of caraway seeds‚ 1 tbsp of oil‚ and 1 cup of water in your bread machine. Add 2 tsp of active dry yeast. Select the basic or wheat bread setting and medium crust color. Let the machine do the work for a delicious‚ authentic rye loaf perfect for deli-style sandwiches or toast.
4.3 Herb and Cheese Bread Recipe
Combine 2 cups of all-purpose flour‚ 1 tbsp of sugar‚ 1 tsp of salt‚ 1 tsp of active dry yeast‚ 1/4 cup of grated Parmesan cheese‚ 1 tbsp of chopped fresh herbs (like rosemary or thyme)‚ 1 tbsp of butter‚ and 1 cup of water in your bread machine. Select the basic bread setting and medium crust color. The result is a fragrant‚ savory loaf perfect for serving with soup‚ as a side‚ or toasted with butter.
Specialized Bread Recipes
Bread machine recipe books offer diverse specialized recipes‚ including gluten-free‚ dairy-free‚ and low-carb options. Explore unique creations like gluten-free boule‚ keto bread‚ and dairy-free herb loaves with ease.
5.1 Gluten-Free Bread Varieties
Gluten-free bread machine recipes offer diverse options like Gluten-Free French Boule‚ Walnut Bread‚ and Raisin Bread. These recipes use ingredients such as rice flour‚ almond flour‚ and chia seeds to ensure structure and flavor. Many bread machine recipe books‚ like The Ultimate Bread Machine Cookbook‚ provide detailed instructions for gluten-free settings. These recipes cater to those with dietary restrictions‚ ensuring delicious and fresh homemade bread without gluten.
5.2 Dairy-Free and Vegan Bread Options
Dairy-free and vegan bread recipes are perfect for those with dietary restrictions. These recipes often substitute dairy products with almond milk‚ coconut oil‚ or vegan butter. Popular options include Vegan Whole Grain Bread and Dairy-Free Sourdough. Many bread machine cookbooks‚ such as The Ultimate Bread Machine Cookbook‚ offer dedicated sections for vegan bread‚ ensuring flavorful and fresh results without animal-derived ingredients. These recipes are easy to customize and cater to various preferences.
5.3 Low-Carb and Keto Bread Recipes
Low-carb and keto bread recipes are ideal for those managing blood sugar or following a ketogenic diet. These recipes often use almond flour‚ coconut flour‚ or flaxseed to reduce carb content while maintaining flavor. Many bread machine cookbooks‚ like The Ultimate Bread Machine Cookbook‚ offer keto-friendly options. These recipes ensure delicious‚ low-carb bread that fits seamlessly into a healthy lifestyle‚ perfect for sandwiches or snacks without compromising dietary goals.
Tips and Tricks for Perfect Bread
Ensure perfect bread by using fresh yeast‚ precise measurements‚ and monitoring dough consistency. Experiment with flour types and adjust recipes for optimal results and flavor.
6.1 Understanding Yeast and Its Role in Bread Making
Yeast is the heart of bread making‚ converting sugars into carbon dioxide for rise. Using fresh‚ active dry‚ or bread machine yeast ensures fermentation. Monitor temperature and hydration for optimal activity. Proper yeast function is key to a light‚ airy texture and flavorful bread‚ as detailed in recipe books like The Ultimate Bread Machine Cookbook.
6.2 Adjusting Recipes for Different Loaf Sizes
Adjusting recipes for different loaf sizes requires scaling ingredients proportionally. For smaller loaves (1-lb)‚ reduce quantities by half‚ while larger loaves (2-3 lbs) need increased proportions. Always measure ingredients accurately to maintain balance. Ensure your bread machine accommodates the chosen size‚ as overcrowding can lead to uneven baking. This customization ensures perfect results for any loaf size‚ as detailed in guides like The Ultimate Bread Machine Cookbook.
6.3 Troubleshooting Common Bread Making Issues
Common bread-making issues include dense loaves‚ uneven rising‚ or overmixing. Check yeast expiration and ensure proper activation. Incorrect ingredient ratios or temperature fluctuations can affect results. Overmixing dough leads to tough bread‚ while undermixing causes poor structure. Refer to guides like The Ultimate Bread Machine Cookbook for solutions. Adjusting flour types or verifying machine calibration often resolves these problems‚ ensuring consistent and delicious bread.
Utilizing Your Bread Machine’s Programmable Settings
Programmable settings allow customization of recipes‚ crust color‚ and baking time. Delay start and timer functions offer flexibility. Explore flour types and advanced dough settings for versatility.
7.1 Customizing Recipes with Different Flour Types
Exploring various flour types enhances recipe customization. Gluten-free‚ whole grain‚ and rye flours offer unique textures and flavors. Adjust settings based on flour density and protein content for optimal results. This versatility allows for tailored bread creations‚ catering to dietary preferences and culinary experimentation.
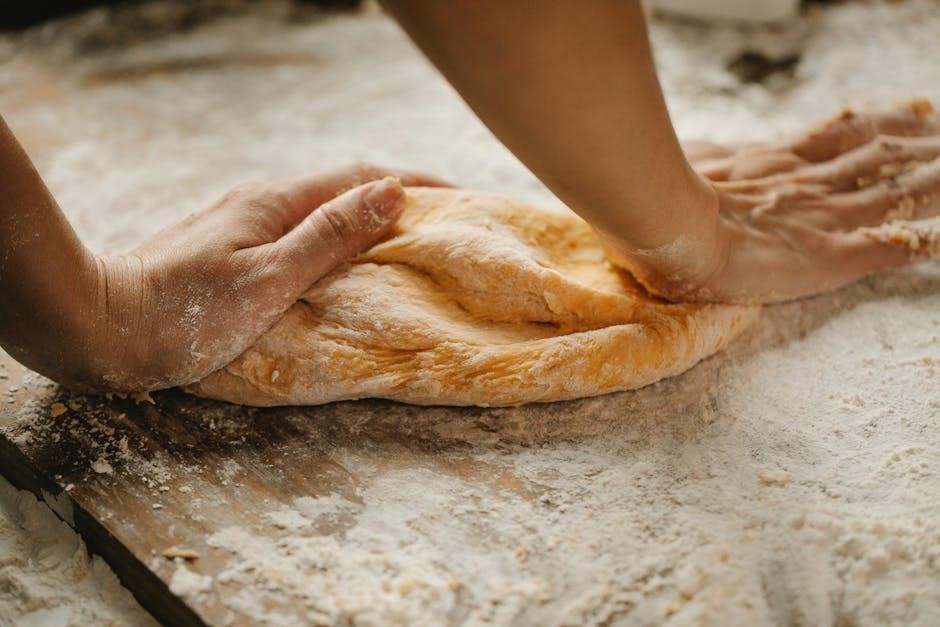
7.2 Making Dough for Rolls‚ Pizza‚ and Other Treats
Your bread machine is versatile for creating dough beyond bread. Use it to make rolls‚ pizza‚ or even sweet treats. Simply select the dough setting and let the machine knead and rise the mixture. For pizza‚ roll out the dough after completion. For rolls‚ shape and bake separately. This feature simplifies preparing various baked goods with minimal effort‚ ensuring fresh and delicious results every time.
7.3 Exploring Delay Start and Timer Functions
The delay start and timer functions on your bread machine offer convenience. Program the machine to begin mixing and baking at a later time‚ allowing you to wake up to fresh bread. Set the timer to ensure perfectly baked loaves or dough. These features are ideal for busy schedules‚ letting you prepare ingredients in advance and return to perfectly cooked results‚ enhancing your baking efficiency and flexibility effortlessly.
Storing and Freezing Bread
Store bread in a cool‚ dry place to maintain freshness. Freeze bread for later use by wrapping it tightly in plastic or aluminum foil; Reheat stale bread by toasting or baking it briefly in the oven. Proper storage ensures bread remains fresh and delicious for a longer period‚ preserving its texture and flavor effectively.
8.1 Maintaining Bread Freshness
To keep bread fresh‚ store it in a cool‚ dry place away from direct sunlight. Use plastic wrap or an airtight container to retain moisture and softness. For longer freshness‚ freeze bread by wrapping it tightly in plastic or aluminum foil. When thawing‚ place it at room temperature or reheat in the oven. Regularly check for signs of spoilage‚ such as mold or a sour smell‚ and discard if necessary. Proper storage ensures bread remains fresh and flavorful for a longer period‚ while also preventing staleness and mold growth effectively. Additionally‚ consider using paper bags for short-term storage to maintain crust texture and freshness. Always store bread in a clean‚ dry environment to prevent contamination and extend its shelf life naturally.

8.2 Freezing Bread for Later Use
Freezing bread is an excellent way to preserve its freshness for later use. Wrap the bread tightly in plastic wrap or aluminum foil and place it in a freezer-safe bag. Frozen bread can be stored for up to 3 months. When ready to use‚ thaw the bread at room temperature or reheat it in the oven. Freezing helps retain the bread’s texture and flavor‚ ensuring it stays fresh for a longer period. This method works well for all types of bread‚ including gluten-free and whole grain varieties‚ making it a convenient option for meal planning and reducing waste;
8.4 Reheating and Refreshing Stale Bread
To revive stale bread‚ preheat your oven to 350°F (175°C). Wrap the bread tightly in foil and bake for 10-15 minutes. For a crisper texture‚ lightly wet the bread‚ then bake uncovered for 5-10 minutes. Alternatively‚ slice the bread and toast it. These methods restore freshness and texture‚ making stale bread enjoyable again. Perfect for reviving leftovers and reducing food waste with minimal effort and time.
Bread machine recipe books simplify bread making‚ offering diverse recipes and tips. They empower bakers to create delicious‚ customized bread effortlessly. Experiment and enjoy the process!
9.1 Summary of Key Takeaways
Bread machine recipe books provide a wide range of recipes‚ from classic to gluten-free and dairy-free options. They offer easy-to-follow instructions and tips for perfect bread. Popular titles like The Ultimate Bread Machine Cookbook and Beth Hensperger’s The Bread Lover’s Bread Machine Cookbook are excellent resources. These books cater to all skill levels‚ ensuring everyone can create delicious bread effortlessly. Experiment with diverse recipes and enjoy the convenience of homemade bread!
9.2 Encouragement to Experiment and Explore More Recipes
Mastering the basics is just the beginning—experiment with diverse flours‚ herbs‚ and ingredients to create unique bread varieties. Explore gluten-free‚ keto‚ and dairy-free options to cater to all dietary needs. With programmable settings‚ customize recipes to your taste. Don’t hesitate to try new flavors and techniques; homemade bread is a versatile canvas for creativity. Keep exploring and enjoy the satisfaction of freshly baked‚ personalized loaves!