hoop earring size guide
Hoop earrings are a timeless jewelry staple, offering versatility and elegance․ Available in various sizes, they can be delicate or bold, making them suitable for any style or occasion․
1․1 Popularity and Versatility of Hoop Earrings
Hoop earrings are a timeless and versatile accessory, loved for their classic appeal․ Their popularity stems from their ability to suit every face shape, personal style, and occasion․ Whether small and delicate or large and statement-making, hoops are a go-to choice for many, offering endless styling options and a perfect blend of elegance and trendiness․
1․2 Importance of Choosing the Right Size
Selecting the right hoop size enhances comfort and aesthetics․ Hoops come in sizes from 10mm to 60mm, each offering a distinct look․ The correct size complements facial features, ensuring a balanced and polished appearance․ Choosing a size that fits your style and preferences makes your hoops a seamless addition to any outfit, whether casual or formal․
Common Hoop Earring Sizes
Hoop earrings are categorized into four primary sizes: small (10-20mm), medium (20-40mm), large (40-60mm), and extra-large (60mm+)․ Each size offers a unique style and versatility for different looks․
2․1 Small Hoop Earrings: 10-20mm
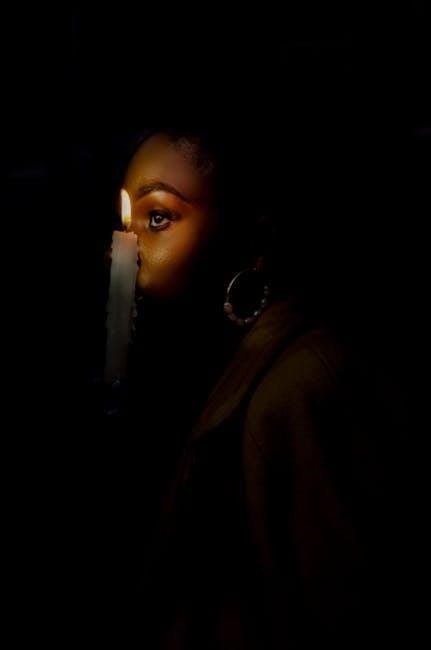
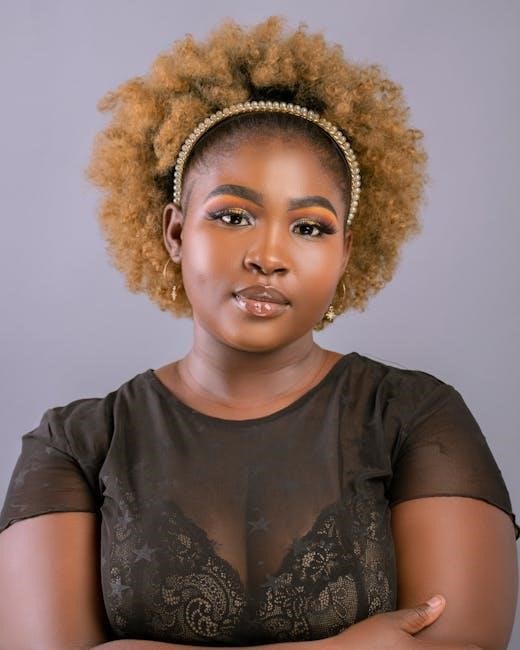
Small hoop earrings, measuring 10-20mm in diameter, are perfect for a subtle, delicate look․ They are ideal for everyday wear and suit those who prefer understated jewelry․ These hoops are lightweight and versatile, complementing both casual and formal outfits․ With various materials and styles available, they offer a classic charm that appeals to all face shapes and personal styles, making them a timeless choice․
2․2 Medium Hoop Earrings: 20-40mm
Medium hoop earrings, ranging from 20-40mm, strike a balance between subtlety and statement․ They are versatile, suitable for both casual and formal settings, and offer a noticeable yet not overwhelming presence․ This size is ideal for those seeking a classic look that complements various face shapes and personal styles, making them a popular choice for everyday wear and special occasions alike․
2․3 Large Hoop Earrings: 40-60mm
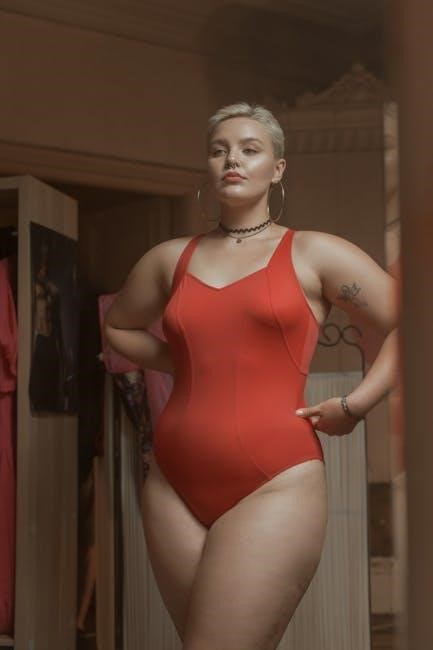
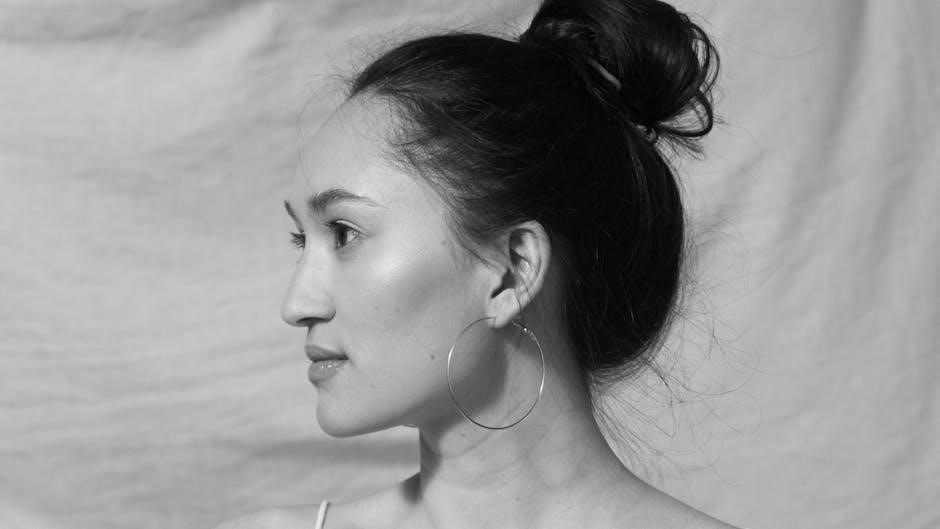
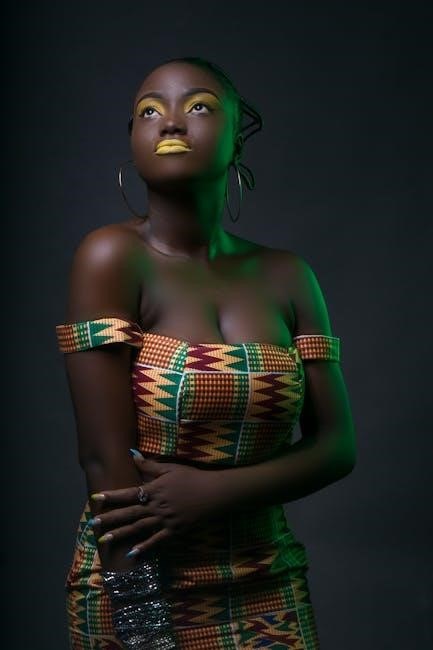
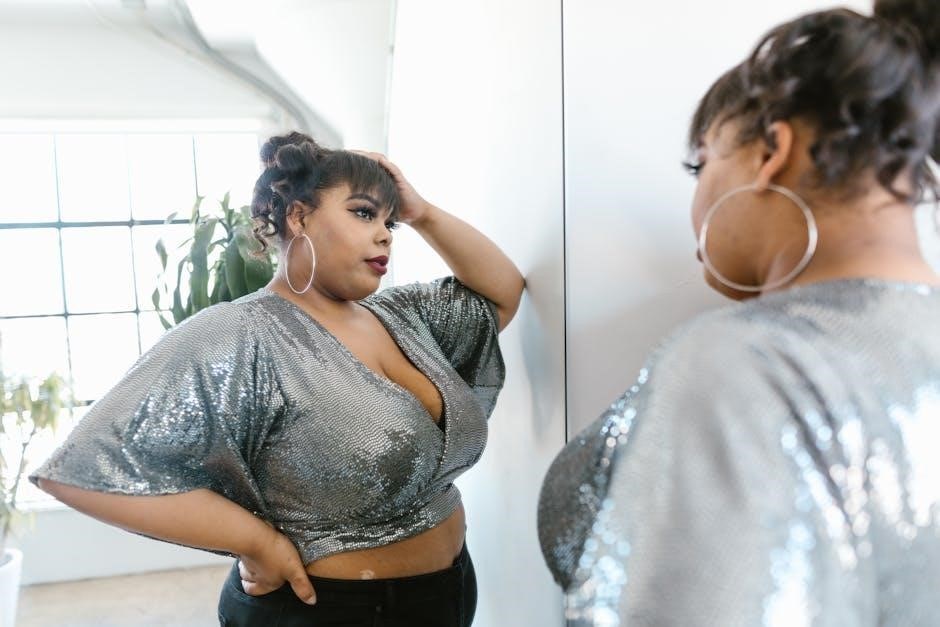
Large hoop earrings, measuring 40-60mm, are bold and eye-catching, perfect for making a statement․ They add a dramatic flair to outfits and are ideal for those who want to stand out․ Often favored in gold tones, these hoops are versatile enough for both casual and formal events, offering a chic, sophisticated look that draws attention and elevates any style․
2․4 Extra-Large Hoop Earrings: 60mm and Beyond
Extra-large hoop earrings, measuring 60mm and beyond, are perfect for those who love to make a bold statement․ These oversized hoops are ideal for special occasions or for adding a dramatic touch to a simple outfit․ They are often worn by fashion enthusiasts who embrace a trendy, edgy look and want their jewelry to be the focal point of their ensemble․

Measuring for the Perfect Fit
Measuring for the perfect fit ensures comfort and style, helping you find the ideal hoop size using a ruler or guide accurately every time․
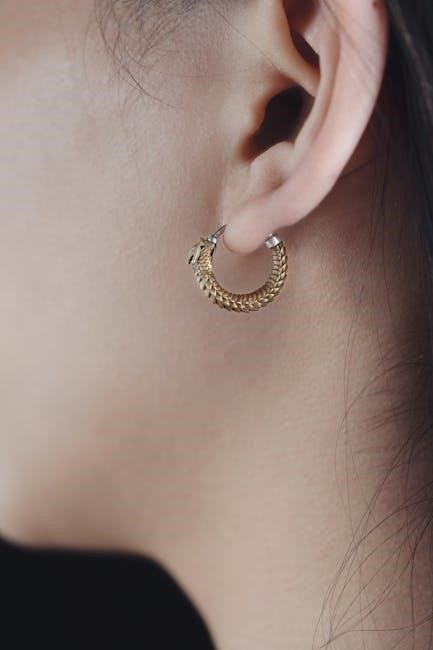
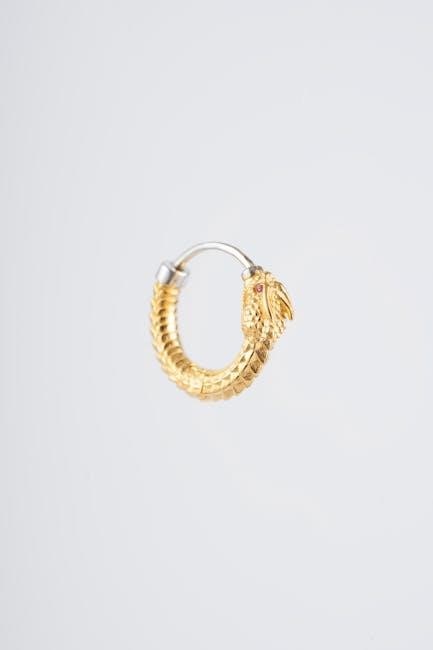
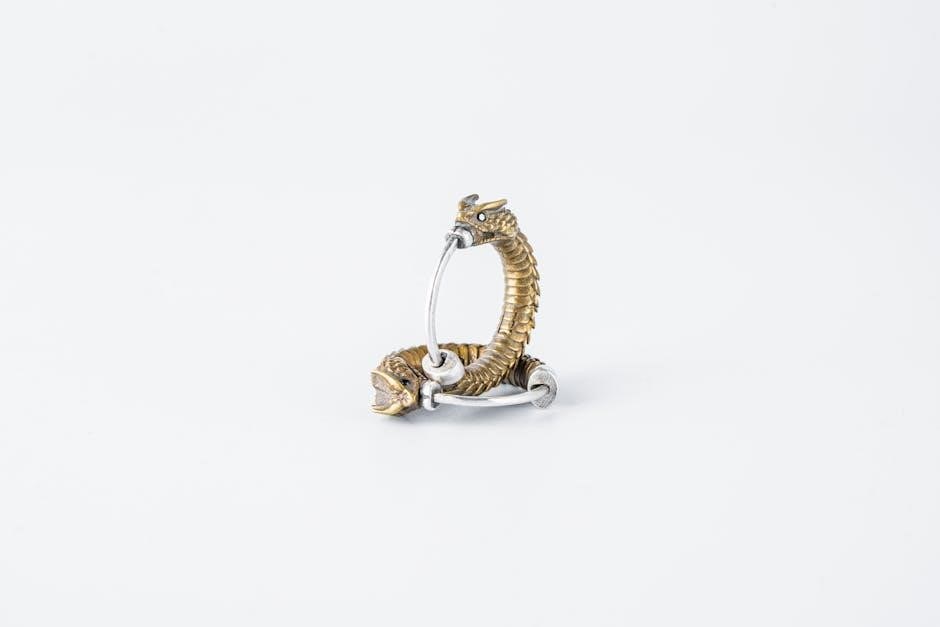
3․1 Understanding Internal and External Diameter
Understanding the internal and external diameters is crucial for selecting the right hoop size․ The internal diameter measures the hole inside the hoop, while the external diameter includes the entire earring․ These measurements help determine how the hoops will fit and look on your ears, ensuring a comfortable and stylish wear every time you put them on․
3․2 How to Measure Your Ear for Hoop Earrings
To measure your ear for hoop earrings, start by measuring the distance from your piercing to the edge of your ear․ Use a ruler or a jewelry sizing tool for accuracy․ For example, mini hoops typically have a 5mm internal diameter, while larger styles may range up to 15mm or more․ This helps determine the perfect fit for your desired hoop size․
Hoop Earring Size Chart
A hoop earring size chart provides conversions from millimeters to inches and includes comparable objects for reference, helping you visualize sizes like 10mm (0․4 inches) or 25mm (1 inch)․
4․1 Millimeters to Inches Conversion
Understanding millimeter-to-inch conversions is key to selecting the right hoop size․ Common sizes include 10mm (0․4 inches), 20mm (0․75 inches), 30mm (1․18 inches), and 40mm (1․57 inches)․ This guide helps visualize hoop diameters, ensuring a perfect fit․ For reference, a dime is about 15mm (0․6 inches), and a penny is 20mm (0․75 inches), aiding in real-life size comparisons․
4․2 Comparable Objects for Size Reference
Comparing hoop sizes to everyday objects aids in visualization․ A 10mm hoop is similar to a thumbtack head, while a 20mm hoop matches a penny’s width․ A quarter, at 25mm, helps gauge larger sizes, and a 30mm hoop is about the size of a small coin․ These references make selecting the perfect hoop easier and more intuitive for buyers․
Hoop Earrings and Face Shape
Hoop earrings complement various face shapes by balancing proportions․ The right size enhances features, creating harmony between the earrings and individual facial contours for a polished look․
5․1 Choosing Hoop Sizes Based on Face Shape
Choosing hoop sizes based on face shape ensures a balanced look․ Oval faces pair well with medium hoops, while round faces benefit from longer, larger hoops to elongate features․ Square faces are softened by smaller, delicate hoops, and heart-shaped faces find harmony with wider, statement hoops that draw attention downward, creating visual equilibrium and enhancing natural beauty effortlessly․
5․2 How Different Hoop Sizes Complement Features
Different hoop sizes complement facial features by creating balance and harmony․ Smaller hoops subtly enhance delicate facial structures, while larger hoops draw attention to the lower face, elongating features․ Medium hoops strike a balance, framing the face without overpowering it․ The right size can highlight cheekbones, soften jawlines, or accentuate the eyes, ensuring a polished and flattering appearance tailored to individual traits and contours․
Material and Thickness Considerations
Material and thickness significantly impact hoop earrings’ look and durability․ Options range from thin, delicate styles to thicker, statement pieces, catering to various personal aesthetics and preferences․
6․1 How Material Affects Hoop Earring Size
Material plays a crucial role in determining the perceived size of hoop earrings․ Thicker materials, like solid gold or sterling silver, can make hoops appear larger, while thinner options, such as gold-plated or hollow designs, create a more delicate look․ The choice of material should align with the desired visual impact and personal style․
6․2 Thickness Options for Hoop Earrings
The thickness of hoop earrings significantly impacts their appearance and comfort․ Thinner hoops, such as 1-2mm, are ideal for subtle, everyday wear, while thicker options (3-4mm) offer a bold, statement look․ The choice of thickness depends on personal preference, lifestyle, and the desired aesthetic, ensuring both style and comfort are balanced seamlessly․ Each thickness option caters to different fashion needs and occasions․
Styling Tips for Hoop Earrings
Hoop earrings are versatile and can be styled to suit any occasion․ Mix sizes for a trendy stacked look or keep it simple for a polished appearance․
7․1 Pairing Hoop Earrings with Outfits
Hoop earrings are incredibly versatile and can complement a variety of outfits․ For casual looks, smaller hoops add subtle charm, while larger hoops make a bold statement․ For formal events, sleek, medium-sized hoops in metallic finishes like gold or silver enhance elegance․ Mixing hoop sizes creates a trendy, layered aesthetic, perfect for modern styling․
7․2 Stacking Hoop Earrings for a Trendy Look
Stacking hoop earrings is a chic way to create a modern, layered look․ Combining different sizes, from delicate mini hoops to larger statement pieces, adds depth and texture to any outfit․ Mixing metallic finishes like gold, silver, or rose gold further enhances the appeal, making this trend versatile for both casual and dressed-up occasions․
Hoop Earrings for Different Occasions
Hoop earrings are versatile for every event, from casual outings to formal gatherings․ Their adaptability ensures they complement any setting, making them a perfect choice for both everyday wear and special occasions․
8․1 Casual vs․ Formal Settings
Hoop earrings seamlessly transition between casual and formal settings․ For casual looks, smaller hoops or huggies add subtle charm, while larger, statement hoops elevate formal outfits․ Their versatility ensures they complement any attire, making them a go-to accessory for diverse occasions․
8․2 Statement Hoops for Special Events
Statement hoops, typically sized between 40mm to 60mm, are perfect for special events, adding a bold, eye-catching element to your look․ Their larger diameter draws attention and adds glamour, making them ideal for weddings, parties, or formal gatherings․ Pair them with elegant outfits for a sophisticated appearance or with simpler attire for a chic, modern contrast․
Personal Style and Hoop Earring Size
Personal style plays a significant role in choosing hoop sizes․ Smaller hoops complement minimalist aesthetics, while larger hoops add bold flair, making them a versatile accessory for self-expression․
9․1 Matching Hoop Sizes to Your Jewelry Collection
Hoop earrings can harmonize with your jewelry collection by choosing sizes that complement existing pieces․ Smaller hoops blend seamlessly with delicate chains or studs, while larger hoops add a bold statement․ Opting for similar materials, like gold or silver, ensures a cohesive look․ Mixing metals or incorporating pearls can also enhance versatility․ Balance proportions to avoid overwhelming your overall style․
9․2 Balancing Hoop Earrings with Other Accessories
Balancing hoop earrings with other accessories ensures a polished look․ Opt for smaller hoops to avoid overpowering bold necklaces or bracelets․ Larger hoops can stand alone or complement simpler outfits․ Pair delicate hoops with layered necklaces for a refined aesthetic, while statement hoops command attention on their own․ Proportional sizing ensures harmony between earrings and other jewelry pieces․
Maintenance and Care Tips
Regular cleaning with a soft cloth and mild detergent, plus proper storage, keeps hoop earrings shiny and intact․ Store separately to avoid damage․
10․1 Cleaning Hoop Earrings
Regular cleaning ensures hoop earrings retain their shine․ Use a soft cloth and mild soap solution to gently wipe away dirt․ Avoid harsh chemicals or abrasive materials, as they may damage the metal or finish․ For more stubborn grime, soak the hoops in warm soapy water before rinsing and drying thoroughly to prevent water spots․ Regular care extends their beauty and longevity․
10․2 Storing Hoop Earrings to Maintain Their Shape
Proper storage is essential to maintain the shape of hoop earrings․ Store them in a soft pouch or jewelry box to prevent scratching and bending․ Avoid stacking, as this can cause warping․ Lay them flat to maintain their circular shape․ Keep them away from direct sunlight to prevent discoloration․
Hoop earrings offer endless styling possibilities․ By understanding size, fit, and personal style, you can find the perfect pair to elevate your look for any occasion effortlessly․
11․1 Final Thoughts on Choosing the Right Hoop Size
Selecting the right hoop size involves balancing personal style, face shape, and occasion․ Small hoops offer subtlety, while larger styles make bold statements․ Consider your lifestyle and preferences to find a size that complements your features and wardrobe, ensuring a confident and polished look every time you wear them․
11․2 Encouragement to Experiment with Different Styles
Don’t be afraid to explore various hoop sizes and styles to discover what makes you feel confident and stylish․ Mixing small, medium, and large hoops or trying different thicknesses and materials can refresh your look․ With so many options available, experimenting allows you to find the perfect balance between trends and timeless elegance, ensuring your jewelry reflects your unique personality․
Further Reading and Resources
Explore recommended articles on jewelry care and styling tips․ Visit online guides for detailed hoop earring size charts and discover where to shop for your perfect pair․
12․1 Recommended Articles for Jewelry Care
Discover expert tips on cleaning and maintaining your hoop earrings․ Explore guides on polishing metals, removing tarnish, and storing jewelry to preserve its shine․ Learn about gentle cleaning solutions and proper storage methods to extend the life of your earrings․ Find detailed tutorials and advice from professional jewelers to keep your hoops looking their best․
12․2 Where to Find Hoop Earring Size Guides Online
Explore top online resources offering detailed hoop earring size charts․ Websites like Michael Hill, Blue Nile, and James Allen provide comprehensive guides․ Social media platforms such as Pinterest and Instagram feature visual size comparisons․ Additionally, jewelry blogs and forums share expert advice to help you choose the perfect hoop size for your style and preferences․