vivitar drone manual
Safety Guidelines and Precautions
Always follow local drone regulations and ensure safe distances from people and animals. Avoid flying near obstacles or in poor weather conditions. Read the manual thoroughly before your first flight to understand proper operation and safety protocols.
- Conduct pre-flight checks for propeller damage or loose parts.
- Avoid flying in strong winds or bad weather.
- Keep the drone away from flammable materials.
- Never fly near power lines or tall structures.
- In case of an emergency, land immediately or disconnect the throttle.
Remember, safety is crucial for a enjoyable and accident-free flight experience.
1.1. General Safety Tips for Drone Operation
Always fly your Vivitar drone in open, spacious areas, avoiding people, animals, and obstacles. Maintain a minimum distance of 7 feet (2 meters) from others. Ensure the drone is not flown near power lines or tall structures; Avoid operating in strong winds, rain, or poor weather conditions. Conduct pre-flight checks for propeller damage or loose parts. Keep the drone away from flammable materials and never fly near airports or restricted zones. Follow local drone regulations and ensure proper calibration before each flight for optimal performance and safety.
1.2. Environment and Weather Conditions
Always fly your Vivitar drone in open, spacious environments to ensure safe operation. Avoid flying near people, animals, or obstacles. Maintain a minimum distance of 7 feet (2 meters) from others. Ensure the drone is not flown near power lines or tall structures. Avoid operating in strong winds, rain, or poor weather conditions. Conduct pre-flight checks for propeller damage or loose parts. Keep the drone away from flammable materials and never fly near airports or restricted zones. Follow local drone regulations and ensure proper calibration before each flight for optimal performance and safety.
1.3. Legal Considerations and Regulations
Adhere to all local drone laws and regulations when operating your Vivitar drone. Ensure compliance with FAA guidelines, including no-fly zones and altitude restrictions. Obtain necessary permits for commercial use. Respect privacy laws and avoid flying over restricted areas such as airports or government buildings. Familiarize yourself with community standards and best practices for responsible drone operation. Failure to comply may result in legal consequences; Always follow updated regulations to ensure safe and lawful flight experiences.
Unboxing and Initial Setup
Carefully unpack the Vivitar drone, remote controller, rechargeable battery, and accessories. Inspect all components for damage. Charge the battery fully before first use. Download the compatible app for drone control. Follow the manual’s setup guide to pair the drone with the remote. Ensure all parts are securely assembled. Refer to the user manual for detailed instructions to ensure proper initial setup and functionality. Proper assembly ensures a smooth and safe first flight experience.
2.1. What’s Included in the Box
The Vivitar drone box typically includes the drone unit, a remote controller, a rechargeable battery, a USB charging cable, extra propellers, and a user manual. Some models may also come with a mobile phone holder for the remote controller, a memory card, or additional accessories like a carrying case. Ensure all items are included and undamaged before proceeding with setup. Refer to the manual for a detailed list of components and their descriptions. Proper inventory ensures a smooth and complete initial setup process for optimal drone performance. Always verify the contents match the product description for your specific model.
2.2. First Impressions and Physical Inspection
Upon unboxing your Vivitar drone, inspect the unit for any visible damage or defects. Check the build quality and portability of the foldable design. Ensure all components, such as the HD camera, propellers, and remote controller, are included and securely attached. Examine the drone’s arms, motors, and battery compartment for proper alignment and functionality. Perform a thorough visual inspection before powering it on to ensure everything is in working condition. This step is crucial for a safe and successful first flight experience.
Key Features of Vivitar Drones
Vivitar drones feature HD cameras, live video feeds, and GPS tracking for precise navigation. They include foldable designs for portability and Follow Me technology for dynamic shots, enhancing user experience.
3.1. HD Camera and Live Video Feed
The Vivitar drone features a high-definition camera, capturing crisp photos and videos. It offers a live video feed via Wi-Fi, allowing real-time monitoring on your smartphone. This feature enhances flight control and framing shots. The camera’s wide-angle lens provides broader coverage, ensuring stunning aerial views. For optimal performance, ensure the camera is securely attached and the app is properly connected. Adjust settings like resolution or angle as needed. Regularly clean the lens to maintain image quality and avoid glare during flights.
3.2. GPS Tracking and Follow Me Technology
The Vivitar drone integrates GPS tracking for precise location monitoring and stable flight. The “Follow Me” feature allows the drone to autonomously track and film your movements, capturing dynamic footage. This technology is ideal for outdoor adventures, ensuring seamless tracking without manual control. Enable GPS through the app for accurate navigation and improved flight stability. Use “Follow Me” mode to record activities like hiking or biking hands-free, making it easy to document memorable moments with professional-quality results and minimal effort. This feature enhances both functionality and creativity during flights.
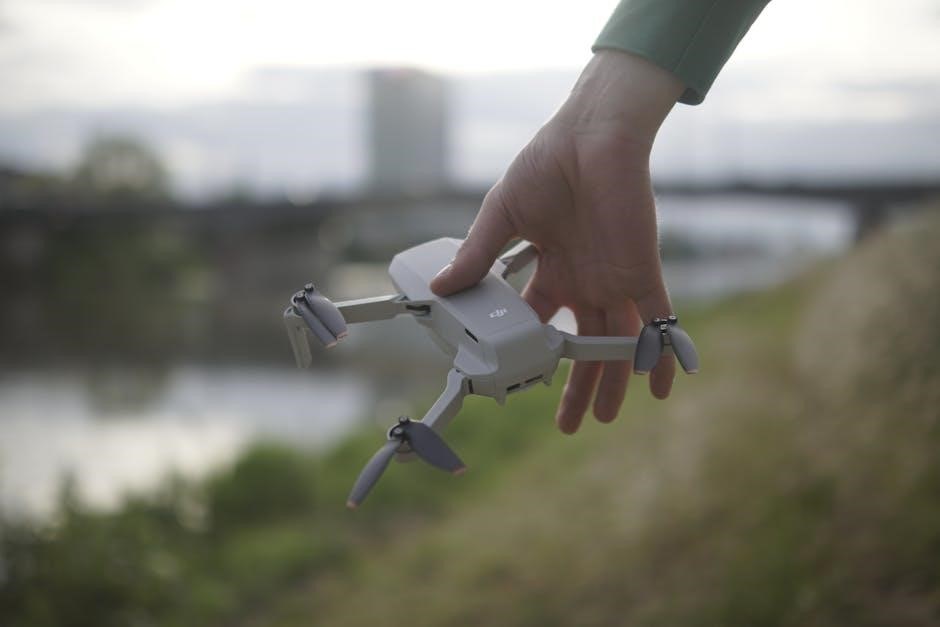
3.3. Foldable Design and Portability
The Vivitar drone features a foldable design, making it highly portable and easy to transport. Its compact size allows for convenient storage in a bag or case. The foldable arms tuck neatly into the body, reducing bulk and ensuring safe carrying. This lightweight design enables users to take the drone on adventures without hassle. The portability enhances flexibility, allowing for spontaneous flights in various locations. Whether for travel or outdoor activities, the foldable structure and compact size make the Vivitar drone an ideal choice for on-the-go use, combining functionality with convenience seamlessly.

Pre-Flight Preparation
Always ensure the drone is fully assembled and all components are secure. Charge the battery to full capacity and confirm proper calibration before takeoff. Check for any software updates and ensure the remote controller is paired correctly with the drone. Conduct a visual inspection for damage to propellers or other parts. Ensure the flying area is clear of obstacles and comply with local regulations. Complete all pre-flight checks to ensure a safe and successful operation.
4.1. Battery Installation and Charging
Insert the battery into the drone as indicated in the manual, ensuring it clicks securely into place. Use the provided charger to charge the battery fully before first use. Avoid overcharging, as it can damage the battery. Always charge in a well-ventilated area away from flammable materials. Check the battery for visible damage before installation. If damaged, replace it immediately. Ensure the drone is turned off during charging to prevent overheating. Properly store the battery when not in use to maintain its longevity and performance.
- Use only the original charger provided.
- Charge the battery until the indicator shows full charge.
- Avoid extreme temperatures during charging.
Always follow the manufacturer’s guidelines for battery care and charging to ensure safety and optimal performance.
4.2. Drone Calibration and Syncing
Calibration ensures accurate flight performance. Place the drone on a flat surface and follow the on-screen instructions in the app. Sync the drone and remote controller by simultaneously pressing their power buttons. Wait for the LED lights to stabilize, indicating successful pairing. If the drone doesn’t calibrate properly, restart the process. Ensure the remote control sticks are centered before syncing. Calibration is crucial before every flight for optimal functionality.
- Complete calibration in an open area away from magnetic interference.
- Sync the drone and remote after each battery replacement.
- Refer to the manual for detailed calibration steps.
Proper calibration guarantees precise control and smooth operation during flights.
Understanding the Remote Controller
The remote controller features a intuitive layout with dual sticks for throttle and direction. Buttons control camera settings and return-to-home functions. Adjust sensitivity for better flight control.
- Left stick controls altitude and rotation.
- Right stick manages forward, backward, and side movements.
- Customize settings via the Vivitar app for personalized control.
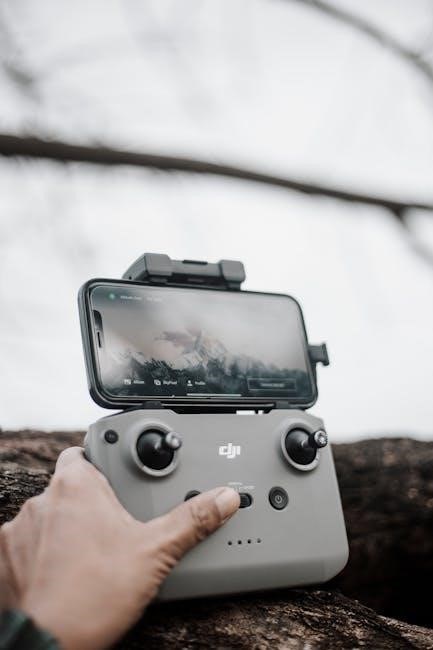
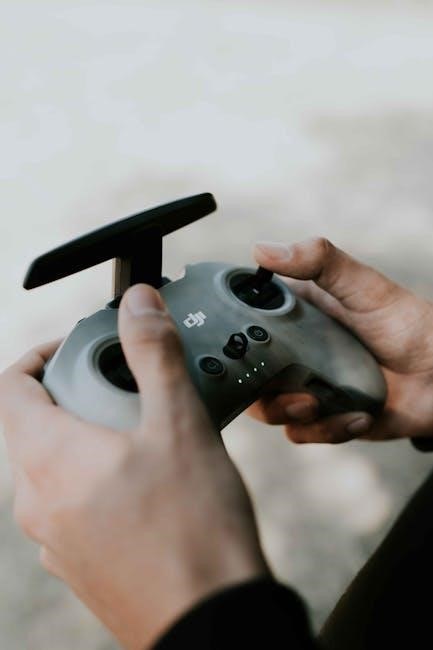
5.1. Layout and Functions of the Controller
The remote controller for your Vivitar drone is designed for intuitive operation. The left stick controls throttle and yaw, while the right stick manages pitch and roll. Additional buttons enable camera settings, video recording, and return-to-home functions. The controller also features a mobile phone holder for FPV viewing. The LCD screen displays critical flight data, and buttons allow mode switching between beginner and advanced settings. Customize controls via the Vivitar app for enhanced flight precision and ease of use.
- Left stick: Throttle and rotation control.
- Right stick: Forward/backward and side-to-side movement.
- Function buttons: Access camera, video, and flight modes.
5.2. Customizing Controls for Better Flight Experience
Customize your Vivitar drone’s controller settings to enhance your flight experience. Adjust stick sensitivity and button assignments via the Vivitar app. Enable features like one-key takeoff, landing, or return-to-home for convenience. You can also program custom flight modes, such as sport mode for faster movements or cinematic mode for smoother video recording. Save your preferred configurations for quick access during future flights. Personalizing controls ensures a tailored flying experience, improving precision and enjoyment. Always test custom settings in a safe, open area before general use.
- Adjust stick sensitivity for precise control.
- Assign custom functions to buttons.
- Enable advanced flight modes.
- Save configurations for quick access.
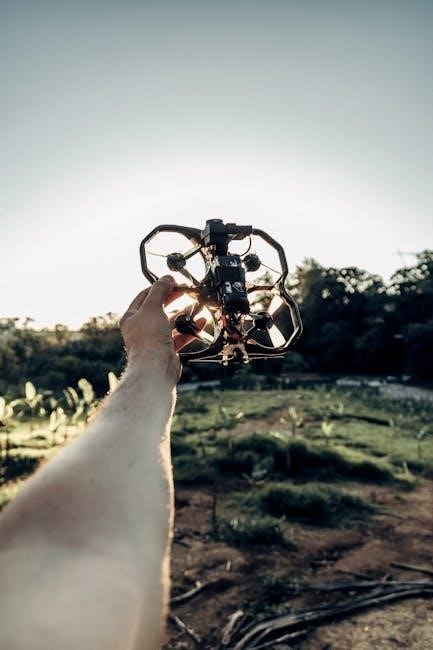
Flying the Drone
Ensure the drone is fully functional and calibrated. Choose a wide, obstacle-free area for takeoff. Avoid flying over people or animals. Follow all local regulations for safe and enjoyable flights.
6.1. Basic Flight Operations and Controls
Mastering basic flight operations ensures smooth and enjoyable drone experiences. Start with throttle control to ascend or descend. Use left and right joysticks for directional movements. For stable flights, enable GPS mode. Practice hovering at low altitudes to improve control. Avoid sudden movements and maintain a steady hand. Land the drone gently by reducing throttle gradually. Familiarize yourself with emergency stop features and return-to-home functions for safe recovery. Always prioritize a clear, obstacle-free environment for optimal flight performance and safety.
6.2. Advanced Features like GPS Navigation
The Vivitar drone’s GPS navigation enhances flight precision and control. Enable GPS mode for stable hovering and accurate positioning. Use the Follow Me feature to track subjects automatically. Set waypoints for autonomous flights, allowing the drone to follow a predefined path. Altitude Hold maintains consistent height, simplifying aerial photography; Utilize Return-to-Home for safe landings when the drone loses signal or battery is low. These features streamline complex maneuvers, making advanced flight operations accessible to all users while ensuring a seamless and enjoyable experience.
Maintenance and Troubleshooting
Regularly inspect propellers and motors for damage. Clean the drone and camera lens after each use. Update firmware to ensure optimal performance. Check battery health and charge levels before flights. If issues arise, refer to the troubleshooting guide in the manual for solutions or contact customer support for assistance.
7.1. Regular Maintenance Tips
Regular maintenance ensures your Vivitar drone operates efficiently. Inspect propellers for damage and clean them gently. Check motors for debris and ensure proper lubrication. Monitor battery health, avoiding overcharging or extreme temperatures. Store the drone in a dry, cool place when not in use. Clean the camera lens with a soft cloth to maintain image clarity. Update firmware regularly for improved functionality. Refer to the manual for detailed maintenance schedules and procedures to extend your drone’s lifespan and performance.
7.2. Common Issues and Solutions
Common issues with Vivitar drones include calibration problems, weak signal, or battery drainage. For calibration issues, restart the drone and recalibrate according to the manual. If the signal is weak, ensure no obstacles are nearby and reset the remote controller. For battery issues, avoid overcharging and use the original charger. If the camera focus is blurry, clean the lens gently with a soft cloth. Always refer to the manual for specific troubleshooting steps to resolve these issues effectively and ensure optimal performance;
Legal and Warranty Information
Vivitar drones come with a limited warranty covering manufacturing defects. Ensure compliance with local drone laws and regulations. For warranty claims or legal inquiries, contact Vivitar support.
8.1. Warranty Details and Support
The Vivitar drone is covered by a limited warranty that protects against manufacturing defects for a specified period. For warranty claims, users must provide proof of purchase and contact Vivitar customer support directly. The warranty does not cover damages resulting from misuse, accidents, or unauthorized modifications. Additional support resources, including troubleshooting guides and FAQs, are available on the Vivitar website. Ensure to register your product for streamlined warranty services and updates. Visit Vivitar.com for more details.
8.2. Compliance with Local Drone Laws
Ensure compliance with local drone laws and regulations before flying your Vivitar drone. Familiarize yourself with no-fly zones, altitude restrictions, and required permits. Always maintain a safe distance from people, animals, and sensitive areas. Check with your local aviation authority for specific rules governing drone usage in your region. Compliance ensures safe and legal operation of your drone, protecting both you and others. Visit Vivitar.com for additional guidance on legal requirements.