printable wallet pattern pdf free
Printable wallet patterns are a popular DIY craft, offering a creative way to make personalized wallets. These patterns are easy to download and suitable for all skill levels, providing clear instructions for a fun and rewarding project.
1.1 What Are Printable Wallet Patterns?
Printable wallet patterns are downloadable PDF templates designed for crafting custom wallets. They offer step-by-step guides, cutting lines, and stitching marks, suitable for leather, fabric, or other materials. These patterns cater to all skill levels, from beginners to experienced crafters, making DIY wallet creation accessible and enjoyable.
1.2 Why Use Printable Wallet Patterns?
Printable wallet patterns offer a cost-effective and eco-friendly way to create personalized wallets. They provide precision, versatility, and the ability to customize designs. Perfect for crafters of all skill levels, these patterns allow for creative expression while minimizing waste, making them a practical and enjoyable DIY solution.
Types of Wallets You Can Make
Printable wallet patterns allow you to create various styles, from bi-fold and tri-fold wallets to card holders and long wallets, offering customization options for every preference.
2.1 Bi-Fold Wallet
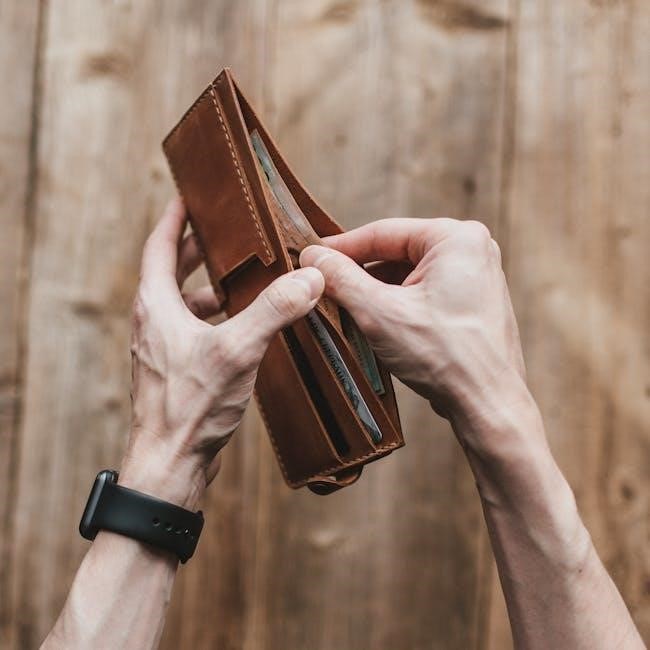
A bi-fold wallet is a classic design with two sections, ideal for carrying cards and cash. Its simplicity makes it a great project for beginners. Free PDF patterns are available, offering easy-to-follow instructions. The bi-fold wallet is practical, customizable, and perfect for using leftover materials like leather or fabric.
2.2 Tri-Fold Wallet
A tri-fold wallet offers three sections for enhanced organization, with multiple card slots and cash compartments. It’s a step up from the bi-fold, providing more space for essentials. Free PDF patterns are available, featuring cutting lines and stitching guides. Ideal for those needing extra storage, it’s a great way to use scrap leather or fabric, combining functionality with a professional finish.
2.3 Card Holder Wallet
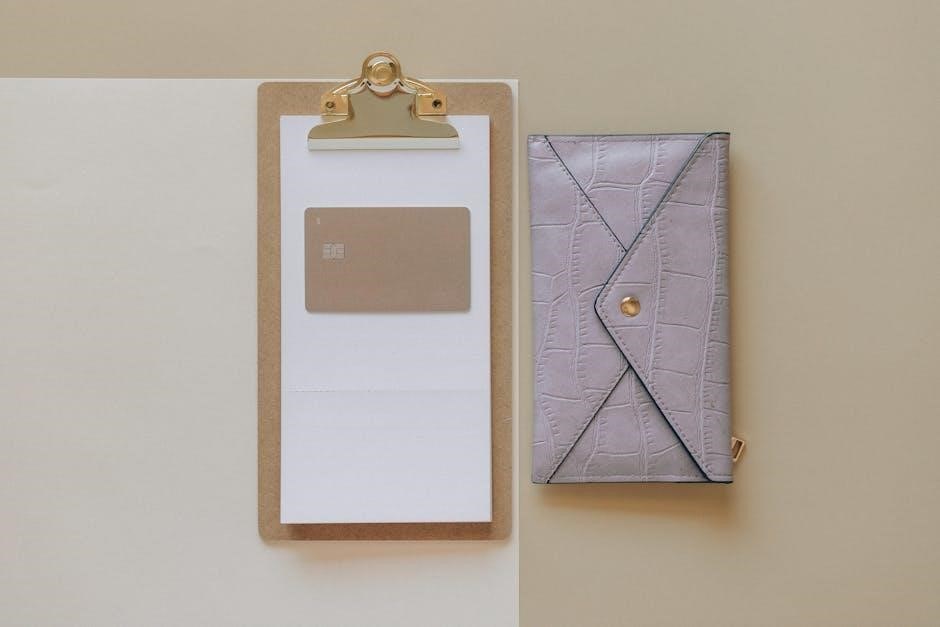
Card holder wallets are sleek and minimalist, designed primarily for carrying cards. Free PDF patterns include stitching holes and cutting lines, making them easy to assemble. Perfect for minimalists, these wallets are compact and practical, using minimal materials. They’re ideal for beginners and experienced crafters alike, offering a quick and satisfying project.
2.4 Long Wallet
The long wallet is a stylish and practical design, perfect for carrying cards and cash. Its slim profile makes it easy to fit in pockets or bags. Featuring multiple card slots and a cash compartment, it’s ideal for everyday use. The pattern is available as a free PDF download and can be made using a single fat quarter of material, making it a great scrap-busting project. Suitable for both beginners and experienced crafters, the long wallet offers a classic look with modern functionality.
Benefits of Using PDF Patterns
PDF patterns offer precision, cost-effectiveness, and environmental friendliness. They provide clear instructions, reducing material waste and allowing for easy customization. Perfect for DIY enthusiasts, PDFs are accessible and convenient.
3.1 Precision and Accuracy
PDF patterns ensure precision and accuracy, with clear markings for cutting and stitching. They eliminate measurement errors, providing professional results. This makes them ideal for both beginners and experienced crafters, ensuring wallets turn out perfectly every time, with all elements aligned and proportionate for a polished finish.
3.2 Cost-Effective
Printable wallet patterns are budget-friendly, often available for free or at low costs; They allow crafters to use leftover materials, reducing waste and expenses. This makes DIY wallet-making accessible to everyone, providing a cost-effective alternative to buying pre-made wallets while still achieving professional-quality results at home.
3.3 Environmentally Friendly
Printable wallet patterns promote sustainability by reducing material waste. Crafters can use fabric scraps or eco-friendly materials, minimizing environmental impact. DIY projects also cut down on packaging and transportation emissions associated with store-bought wallets, making them a greener choice for crafters who care about the planet.
Materials Needed
Essential materials include leather, fabric, or sturdy paper, along with thread, scissors, and a sewing machine. Additional tools like rulers and cutters ensure precision and quality in crafting your wallet.
4.1 Leather or Fabric
Leather and fabric are the primary materials for making wallets. Leather offers durability and a professional look, while fabric provides flexibility and a casual style. Both materials are easy to cut using printable patterns and can be sourced in various textures and colors to suit your design preferences.
4.2 Thread and Notions
Thread and notions are essential for constructing a wallet. Use high-quality thread that matches your material color for a seamless look. Notions like zippers, rivets, or snaps add functionality and style. Ensure all supplies are compatible with your chosen material to achieve a professional finish.
4.3 Tools Required
Essential tools include scissors, a craft knife, or a cutting mat for precise cuts. A sewing machine or needle and thread are needed for stitching. Optional tools like leather stamps or edge bevelers can enhance the finish. Ensure all tools are sharp and suitable for your chosen material type.

Step-by-Step Guide to Making a Wallet
Print the pattern, cut materials, and stitch pieces together. Assemble the wallet by following the instructions for a polished finish and enjoy your handmade creation.
5.1 Cutting the Pattern
Start by printing the PDF pattern on paper or cardstock. Carefully cut out the template using scissors or a craft knife, following the outlined lines precisely. Use a cutting mat for protection and ensure all notches and markings are included. Double-check the dimensions for accuracy before proceeding to stitching.
5.2 Stitching the Pieces
Use a sewing machine or hand-stitch to sew the wallet pieces together. Choose thread that matches your material for a seamless look. Follow the pattern’s stitching lines, ensuring straight, even stitches. Apply a small amount of wax to the thread for smooth stitching. Backstitch at the beginning and end for durability.
5.3 Assembling the Wallet
After stitching, fold and align the edges carefully. Use a bone folder to create sharp creases. Position the main panels together, ensuring pockets align. Apply gentle pressure for a professional finish. Double-check all compartments before final assembly. This step ensures a polished and functional wallet.
Customization Options
Personalize your wallet with unique designs, logos, or monograms. Choose from various materials, colors, and patterns to create a one-of-a-kind accessory that reflects your personal style perfectly.
6.1 Adding a Logo or Design
Elevate your wallet by adding a custom logo or design. Use embroidery, patches, or heat transfers for a personalized touch. Ensure your design aligns with the pattern’s dimensions for a seamless look. This step allows you to express your creativity and make the wallet truly unique to your style or brand.
6.2 Choosing Colors and Materials
Selecting the right colors and materials can transform your wallet’s appearance and functionality. Opt for vibrant fabrics, sturdy leathers, or eco-friendly options to match your style. Ensure the materials are durable and suitable for everyday use, enhancing both the wallet’s appeal and longevity while reflecting your personal aesthetic.
6.3 Modifying the Pattern
Customize your wallet by adjusting the pattern to suit your preferences. Add pockets, change dimensions, or incorporate unique designs. Use tools like Adobe Acrobat or design software to edit the PDF, ensuring your modifications align with the material’s durability and functionality for a personalized finish.

Troubleshooting Common Issues
Common issues include misaligned stitching, incorrect sizing, and material tears. Check pattern measurements, ensure proper tool usage, and review instructions to resolve errors effectively.
7.1 Common Mistakes
Common mistakes include misaligned stitching, incorrect pattern sizing, and material tears. To avoid these, use a sewing guide, double-check printer settings for accurate scaling, and handle materials gently during cutting to ensure precise results and a professional finish.
7.2 Adjusting the Fit
Adjusting the fit ensures your wallet is functional and visually appealing. Use free PDF patterns for precise measurements and test with fabric scraps before final assembly to ensure perfect sizing and alignment, guaranteeing a professional finish.
7.3 Repairing Errors
Repairing errors in your printable wallet pattern involves identifying mistakes in stitching or cutting. Use a seam ripper to carefully remove incorrect stitches and re-sew with precision. Free PDF templates often include repair tips, ensuring your DIY wallet looks professional and lasts longer.
Free Resources for Printable Wallet Patterns
Explore websites offering free PDF wallet patterns, ideal for DIY projects. These resources provide easy-to-follow designs, perfect for crafting personalized wallets at home with minimal cost.
8.1 Websites Offering Free PDFs
Discover websites like Weaverleathersupply and Makesupply-leather.com, offering free PDF wallet patterns. These sites provide downloadable templates for bi-fold, tri-fold, and card holder wallets, complete with stitching guides and tutorials. Perfect for DIY enthusiasts, they cater to all skill levels, ensuring cost-effective and eco-friendly crafting experiences with easy-to-print designs.
8.2 Tips for Downloading and Using Free Patterns
Always download PDFs from trusted websites like Weaverleathersupply. Ensure Adobe Acrobat is installed for viewing. Print patterns at actual size to maintain accuracy. Use templates for precise cutting and stitching. Refer to included tutorials or videos for guidance. Experiment with materials and designs for a personalized touch.

DIY vs. Pre-Made Wallets
DIY wallets offer flexibility and affordability, while pre-made wallets provide convenience and professional quality. Choose based on your time, skills, and desire for customization or instant usability.
9.1 Pros of DIY Wallets
DIY wallets offer customization, cost-effectiveness, and creative freedom. They allow you to choose materials, designs, and features tailored to your needs. DIY projects also enable you to upcycle scraps, learn new skills, and create unique gifts. The process fosters a sense of accomplishment and personal satisfaction, making it a rewarding hobby.
9.2 Cons of DIY Wallets
DIY wallets require time, effort, and basic crafting skills, which may be challenging for beginners. They also demand precise measurements and tools, potentially leading to errors. Additionally, sourcing quality materials can be costly, and the process may not yield a professional finish compared to pre-made options.
9.3 When to Choose Pre-Made Wallets
Pre-made wallets are ideal when time is limited or crafting skills are lacking. They offer a professional finish, durability, and convenience. Choose pre-made wallets for gifts, special occasions, or when seeking a high-quality, ready-to-use product without the effort of DIY assembly.
Saving and Printing Your Pattern
Ensure your PDF pattern is downloaded correctly and printed on Letter or A4 paper. Verify the size accuracy before cutting to achieve professional results for your wallet.
10.1 Ensuring Correct Size
Print a test square to verify the pattern’s scale. Use a ruler to measure accuracy and adjust printer settings if necessary. Ensure the PDF is printed at 100% size without scaling for precise results. This step guarantees your wallet pieces fit together perfectly during assembly;
10.2 Choosing the Right Paper
Select paper that matches your printer’s compatibility, such as A4 or Letter size. For durability, opt for cardstock or high-quality paper. Ensure the paper is bright and suitable for precise printing to maintain the pattern’s clarity. Avoid thin or flimsy sheets to guarantee a professional finish for your wallet project.
10.4 Troubleshooting Printing Issues
Ensure your printer settings match the PDF’s dimensions to avoid scaling errors. Check ink levels and paper alignment for clear prints. If text is blurry, adjust resolution settings. Verify Adobe Acrobat is updated for proper rendering. Restarting the printer and computer can resolve many common printing issues effectively.

Popular Variations and Designs
Explore seasonal themes, minimalist styles, and unique designs. Popular variations include floral patterns, sleek leather finishes, and creative stitching details, offering endless customization for your wallet project.
11.1 Seasonal and Themed Wallets
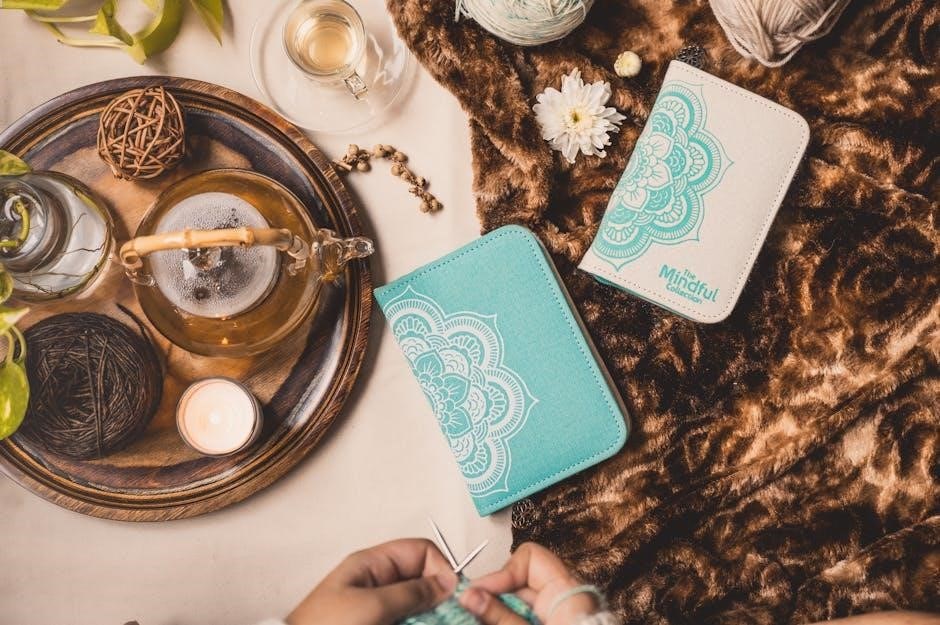
Seasonal and themed wallets add a personal touch to your creations. From floral patterns for spring to holiday-themed designs, these styles allow you to match your wallet to special occasions or personal preferences, making each piece unique and meaningful while showcasing your creativity.
11.2 Unique and Creative Designs
Unique wallet designs offer endless creativity, from modern minimal styles to intricate patterns. These designs often feature functional details like multiple pockets and customizable shapes, allowing you to craft a wallet that stands out while remaining practical. Perfect for expressing personal style or giving as thoughtful gifts.
Creating a custom wallet is a fun DIY project offering creativity and practicality. Start today and enjoy the satisfaction of a personalized accessory.
12.1 Recap of Key Points
Printable wallet patterns offer a cost-effective, eco-friendly way to create personalized accessories. Suitable for all skill levels, these PDF templates provide precision and customization options, allowing users to craft unique wallets using materials like leather or fabric, with step-by-step guides ensuring a successful DIY experience.
12.2 Encouragement to Start Your Project
Embrace the joy of creating something unique and functional! With free printable wallet patterns, you can easily craft personalized accessories. Start your project today and enjoy the satisfaction of making something tailored to your style. Don’t hesitate—grab your materials, follow the guide, and take the first step toward a rewarding DIY experience.